

To help you connect ClubReady and Skipio, we’ve put together this step-by-step guide.
Before setting up the integration, make sure you have a lead follow-up drip campaign and a reminder drip campaign created in your Skipio account for when a workout is scheduled.
Next, sign up for a Zapier account. Zapier is the software that allows you to connect ClubReady and Skipio.
After you create your Zapier account, follow these steps to create your first Zap for lead follow-up:
- Connect it to an email parser by going to this link.
- Log in with your Zapier account
- Authorize Zapier to access your Parser account
- Select “Create Mailbox”
- Send a test email to the @robot.zapier address provided
- Refresh the Zapier parser screen
- Customize your Zapier email address
- Highlight relevant data from the email to create a template
- Save address and template
Now go to your emailing platform and do the following:
- Set up email forwarding so that all of your inbound emails containing new leads information are automatically forwarded to your @robot.zapier email address
Once the email forwarding is set up, go back to Zapier.com and complete the following steps:
- Click on the “Create Zap” button
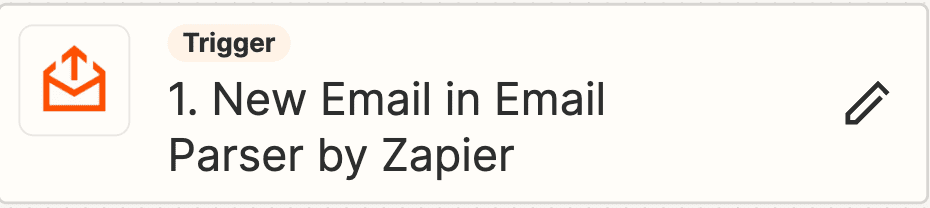
- For the trigger, choose “Email Parser by Zapier”
- For event, select “New Email”
- Add your email parser Zapier account
- Select the mailbox you just created
- Test your trigger
- Continue with selected record
For the next step of your Zap, you’ll need to set up a Formatter to separate your contact’s first and last name. To do this, complete the following steps:
- For step 2 of your Zap, choose “Formatter by Zapier”

- For event, select “Text”
- For transform, select “Split Text”
- For input, select the data value that contains your contact’s first and last name
- For separator, input “[:space:]”
- For segment index, choose “All (as Separate Fields)”
- Test step
- For step 3 of your Zap, choose “Skipio”
- For event, select “Create or Update Contact”

- Connect your Skipio account
- Route the information from steps 1 and 2 of your Zap to the correct fields in Skipio (minimum requirements are first name and phone number)
- Test step
- For step 4 of your Zap, choose “Skipio”
- For event, select “Add Contact to Drip Campaign”

- For Contact ID, choose the custom contact ID from step 3 of your Zap
- For Drip Campaign ID, choose the campaign you would like new leads to be added to
- Test step
- Publish Zap
Zap 2: Workout Confirmation Text
Repeat all the previous steps (except setting up your account since you already did that) for the emails ClubReady sends containing scheduled workout information.
Then follow these four steps to complete the Zap:
- For event, select “Create Event”
- Route the information from steps 1 and 2 of your Zap to the correct fields in Skipio to create this event. You will also need to select the reminder campaign you would like to use
- Test step
- Publish Zap
If you need additional help setting up this connection, schedule a one-on-one meeting with Skipio’s integration specialist.